


Introduction
Today, cPanel is widely used by web hosts. It is essential to understand all the aspects and functionalities of this element as a website owner. This application is not limited to experts in a specific field. Fortunately, there are tutorials available to help everyone learn how to use it.
Are you a website owner? Do you want to understand how cPanel works and be able to manage it for your tasks? This beginner's guide to cPanel will be very useful to you.
What is cPanel exactly?
cPanel is a web-based application for managing hosting settings for websites based on the Linux operating system. It is designed for web hosts to assist their clients in managing or administering their hosting, making the configurations related to website hosting automatic. cPanel helps you in managing and configuring all the elements of your web hosting.
Web hosts like to offer cPanel as a control panel because it provides robust security, regular updates, and much more.
Learning cPanel
Learning and mastering cPanel is essential for website owners, and it seems easy thanks to the existing cPanel tutorials.
Existing Practices in cPanel
In cPanel, you have the ability to do several things at once. After connecting your domain name to your cPanel hosting, you can configure emails for your site, back it up, and add files to its server.
You can also monitor its bandwidth and check the statistical data. It is also possible to modify security settings and perform various optimizations. Finally, you can create new databases, combine them with existing ones, or install other similar programs on your servers.
How to connect to cPanel?
To connect to cPanel, you need to have a personal username and password beforehand. These are the details provided by your web host. You can obtain them by contacting your cPanel and hosting account.
For example, if you want to connect to your user account at Ellohost.com: it's very simple. You can directly access it from the homepage of Ellohost.com.
If you are not a customer of 1Hébergement, normally you should have access from your web host's homepage! If you don't find a direct link on your web host's website, contact customer support to ask for instructions.
Another option is to enter the website address in your browser followed by "2083" for "https" or "2082" for "http". Then, the next step will require your cPanel username and password.
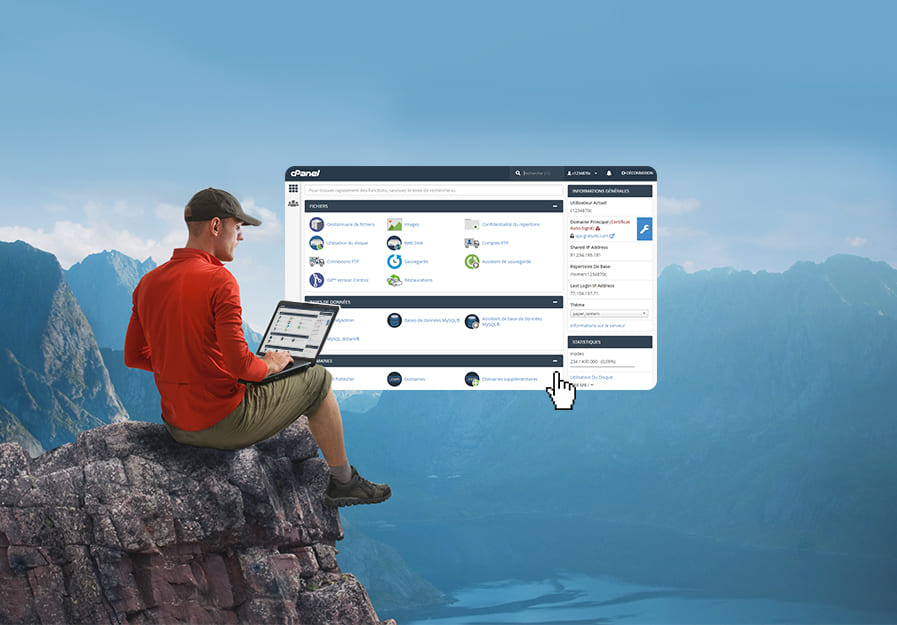
If you're still unable to connect, consult the documents and notifications on the top bar of the cPanel page. The following image illustrates it.

How does the cPanel interface look like?
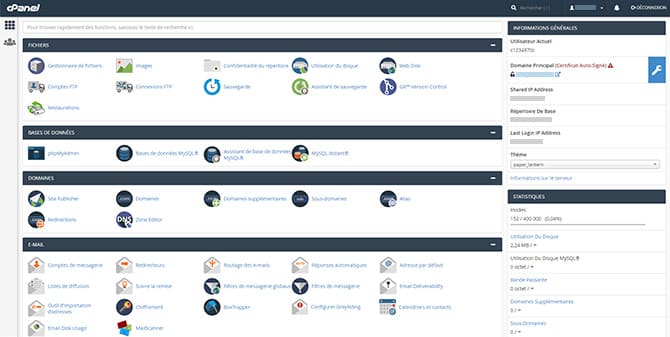
After logging into cPanel, you will see its management panel displayed (see the image below).
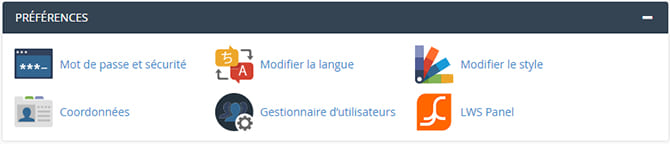
Once connected to your cPanel, you can modify its theme if desired by going to the "Preferences" section located at the bottom. Then, click on "Change Style." It will present you with several options to choose from. The image below shows an example.

How to navigate the cPanel interface?
To freely navigate within the cPanel interface, you need to familiarize yourself with certain elements present on it. Firstly, there is the navigation bar located in the upper right corner of the screen. It looks like this:

It includes several elements:
- The search field to quickly find the main options integrated into cPanel,
- The link to your user preferences, allowing you to modify your personal data such as language and settings,
- The notification bell to inform you of new information and updates,
- The logout link: as the name suggests, it allows you to log out after finishing your work in cPanel.
Secondly, there is the search bar located at the top of the page, just after the navigation bar. Similar to the previous one, the only difference is that it displays all the elements included in cPanel.
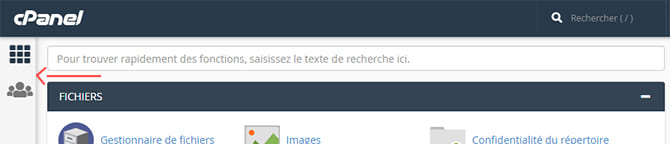
In third position is the sidebar
It is located on the left side of the interface and has two or more icons, depending on your host. You may have, for example, four different icons: Home, Statistics, Dashboard, and User Management. The following image illustrates it perfectly:
Updating Preferences
This part requires first logging into cPanel. Then, you can proceed with the necessary updates.
It is recommended to start by changing the password (especially for the first login to cPanel). To do this, click on the "Password & Security" section. You will see the following page:
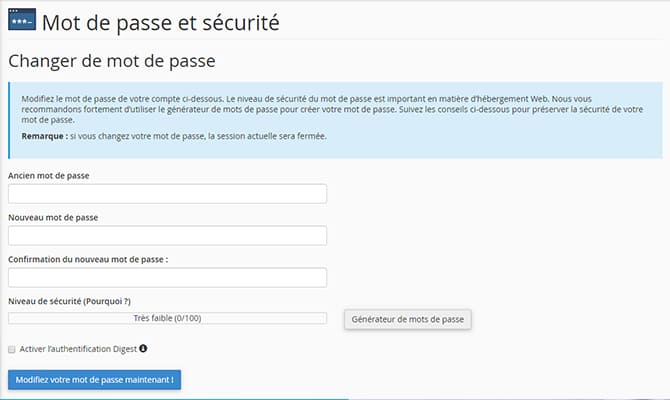
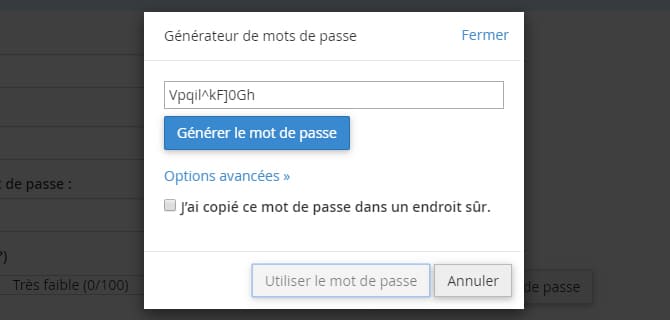
Next, enter the old password and then enter the new one. As for the new password, you can either create it yourself or use password generators. Click on the box, and the password generator will provide you with one.
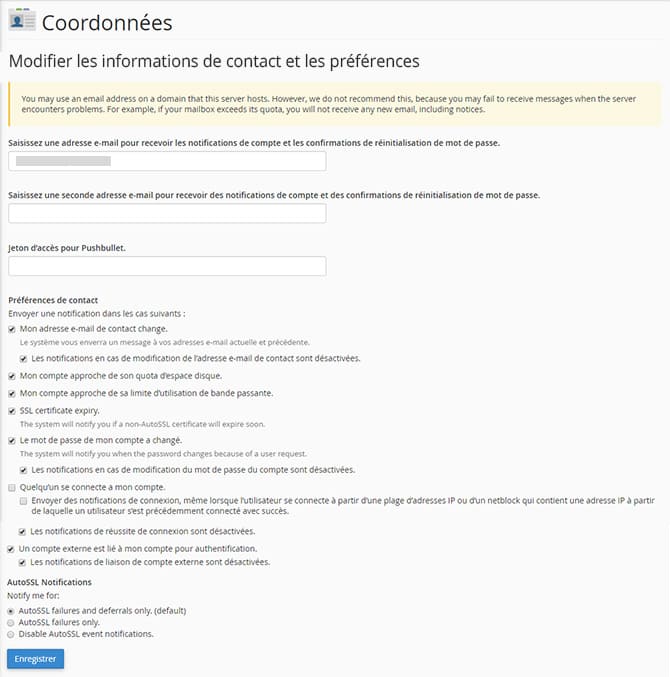
Updating Contact Data
Now, let's get into the heart of the matter and discuss the "update" aspect, specifically updating contact data. This involves using a functional email address to receive information related to your configuration, as well as an email address independent of your username associated with your web host.
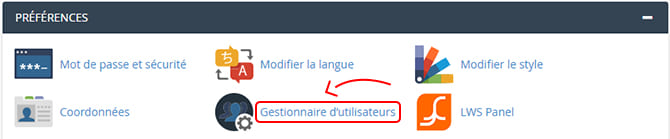
Adding a User
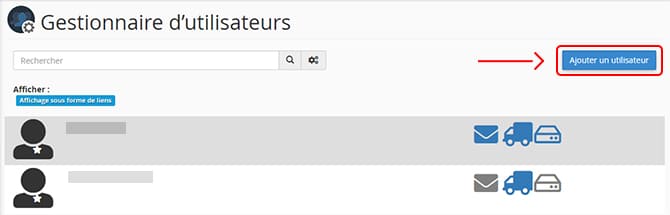
This requires using the User Manager (one of the icons in the Preferences section).
Now, proceed with the actual operation by clicking on the "Add User" box in the upper right corner.
Domain Management
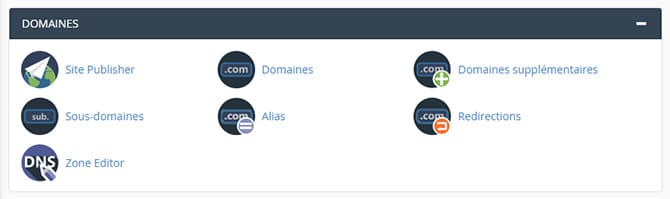
The "Domains" section is where you can add a domain name. To learn more about the importance of your domain name, read another article.
cPanel Tutorial
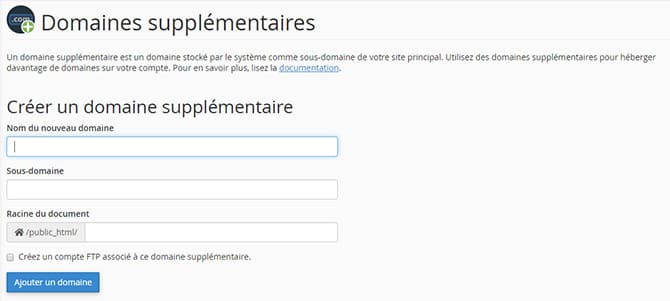
To add a domain name, you need to click on the "Addon Domains" box in the Domain section. The displayed screen will require a new password and other fields to fill in. Fill them in and click "Add Domain" to finish.
To modify or delete a domain, you also need to click on add domain and then on the "Modify Addon Domain" part, which includes other fields allowing you to modify or delete the domain.
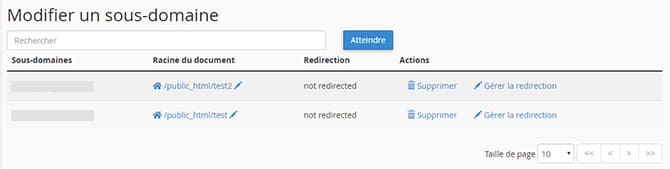
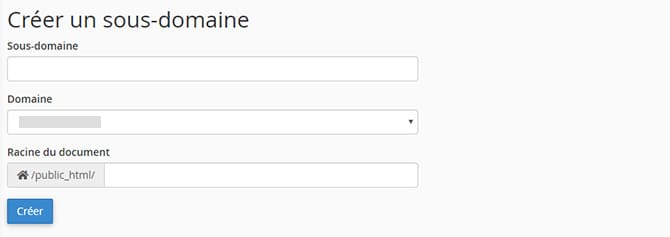
There are also subdomains generated by cPanel whenever new domains are created. Managing these subdomains requires clicking on the "Subdomains" box in the "Domains" section.
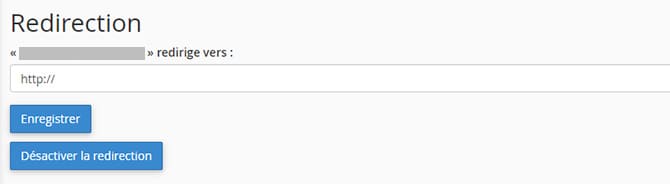
A redirect will appear, displaying a panel with all existing and configured subdomains. You can modify them by clicking on the "Manage Redirection" box. On the following page, you can enter the domain name for redirection and then click "Save" to complete the modification.
Email Settings and User Accounts
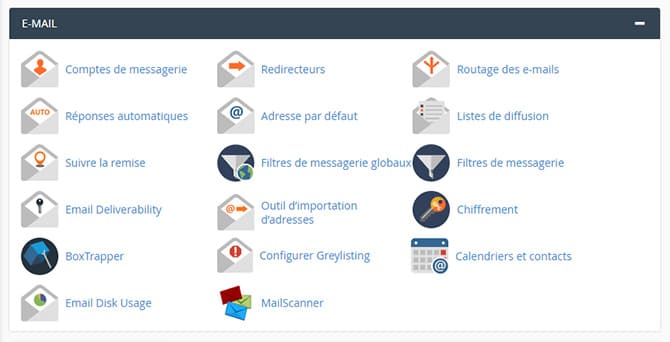
This step allows you to create email accounts. It is done in cPanel in the "Email" section.
Complete the requested information to set up and configure your email accounts.
And don't forget to protect your mail directory!
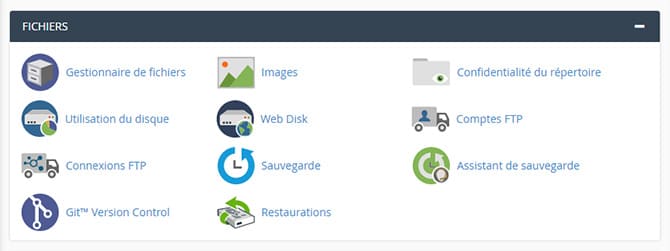
File Management
Personal file management is done in the "Files" section. It enables file backup and downloading. The File Transfer Protocol (FTP) is also used for managing files within your website. This involves setting up a client application.
Databases
Many websites rely on databases. Creating a database in cPanel is done in the "Databases" section.
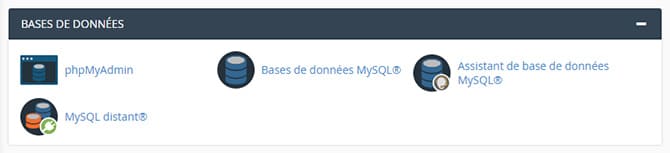
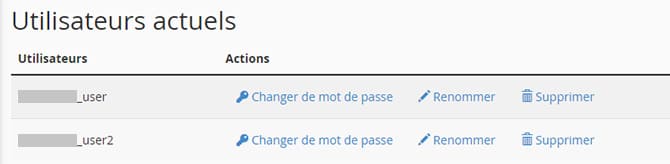
Its management, called "DATABASES" in English, requires familiarity with existing databases. To view them, you need to access "MySQL Databases" in the "Databases" section.
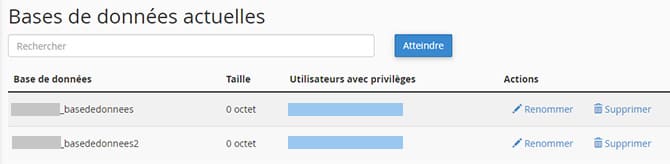
You can then proceed to more advanced modifications.
To conclude this cPanel tutorial
These points covered in this article represent the cPanel guide that any beginner can use to learn and master this tool.
I hope this information has helped you get started with cPanel.
More to come in the next article?