


07-18-2023, 08:19 AM
How to Upload a Document in WordPress
While WordPress accepts several file types, the preferred file format is PDF. That’s because users can view the content without having to download the document.
There are two different methods to add files in WordPress – by editing a page or post or transferring it directly to the Media Library. Depending on your WordPress hosting provider, the maximum file size ranges from 5 MB to 500 MB.
Uploading a Document to a WordPress Page or Post
Follow these instructions to upload a PDF file from your computer to a WordPress page or post:
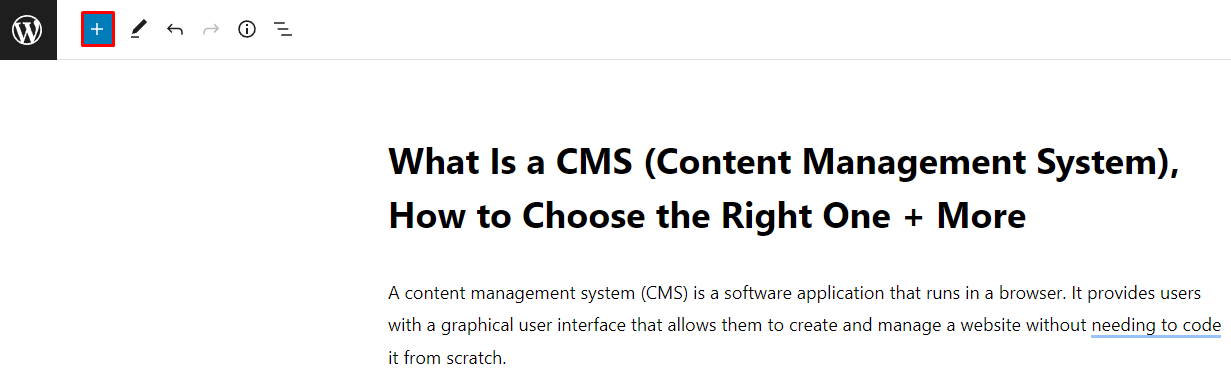
- On your WordPress dashboard, create a new page or post. Alternatively, open an existing one.
- Click the Block Inserter + icon to open the menu.
- Under the Media section, choose File.

- Click the Upload button, choose the desired document, and click Open. In this example, we’re adding a PDF file.

- A preview of the uploaded document will appear.

- To change the file’s anchor text, click the hyperlink next to the download button.
Uploading a Document to the WordPress Media Library
Here are the steps to add documents to your WordPress Media Library:
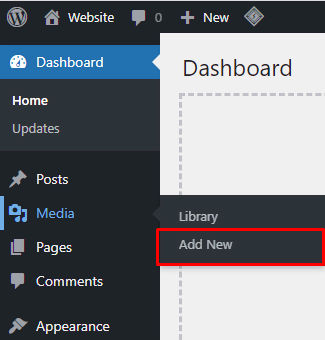
- Open the WordPress Dashboard, go to Media, and click Add New.
- Choose Select Files, select the documents to add, and click Open.

- Go back to the WordPress Dashboard, and create a new post or page. Or open an existing one.
- Click the Block Inserter + icon.
- Under Media, click the File → Media Library.

- Select the documents to insert and click Open. For this example, we’re uploading a PDF document to a WordPress post.
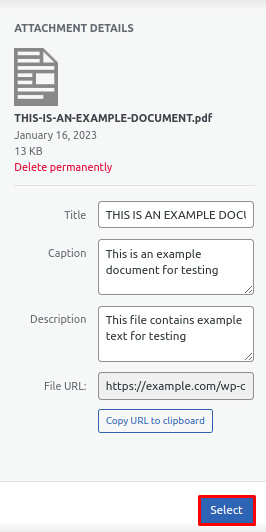
- On the Attachment Details section, fill in the Title, Caption, and Description and click Select.
- The hyperlinks containing the uploaded files will appear. Click them to modify the anchor text.