To install and configure the Redis server on Ubuntu, you will need to have an already running virtual private server (VPS) with Ubuntu operating system installed. With all the prerequisites done, connect to SSH and start the installation.
Step 1 - Update APT Repository
Redis is already included in the official package repository of Ubuntu. Nevertheless, we recommend to frequently update the APT repository to get the latest version possible.
sudo apt-get updateStep 2 - Install Redis Server on Ubuntu Using the APT Command
Installing Redis is as simple as using the following command with the sudo privileges:
sudo apt install redisPress “y” and then hit Enter to continue.
Step 3 - Check the Redis Version
Once Redis is installed, you can check if the installation was successful by using this command:
redis-cli --versionThe output will display the version of the Redis server currently installed on your machine.
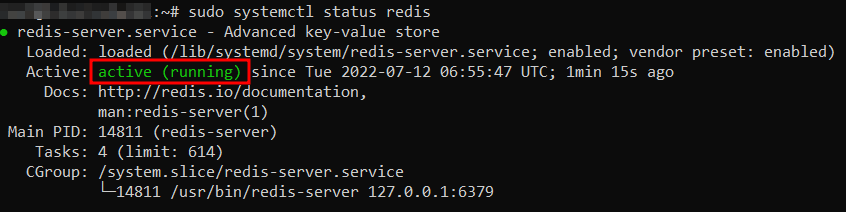
Step 4 - Start Redis Service
Once the installation is complete, we recommend checking if the Redis instance is running. In order to test connectivity, you can use the following command:
sudo systemctl status redisIn the output, locate “Active: active (running)” line.