


How to Install MongoDB on Ubuntu 18.04, 20.04 and 22.04
Step 1 – Installing MongoDB Database Server
Open the terminal and import the MongoDB public GPG key:
wget -qO - https://www.mongodb.org/static/pgp/server-5.0.asc | sudo apt-key add -
If you get an error regarding GnuPG, run the following command:
sudo apt-get install gnupg
Then try to import the public GPG key once more.
Ubuntu 20.04:
echo "deb [ arch=amd64,arm64 ] https://repo.mongodb.org/apt/ubuntu focal/mongodb-org/5.0 multiverse" | sudo tee /etc/apt/sources.list.d/mongodb-org-5.0.list
Ubuntu 18.04:
echo "deb [ arch=amd64,arm64 ] https://repo.mongodb.org/apt/ubuntu bionic/mongodb-org/5.0 multiverse" | sudo tee /etc/apt/sources.list.d/mongodb-org-5.0.list
Next, refresh the APT command to synchronize all repositories:
sudo apt-get update
Install MongoDB using APT:
sudo apt-get install -y mongodb-org
The previously mentioned command will install the latest version of MongoDB. If you want to install a specific version, proceed with the following command. In our example, we are installing the 5.0.7 MongoDB shell version:
sudo apt-get install -y mongodb-org=5.0.7 mongodb-org-database=5.0.7 mongodb-org-server=5.0.7 mongodb-org-shell=5.0.7 mongodb-org-mongos=5.0.7 mongodb-org-tools=5.0.7
Step 2 – Starting MongoDB Service
After MongoDB installation is complete, it’s time to start it:
sudo systemctl start mongod
In case of an error, run this command and try starting MongoDB again:
sudo systemctl daemon-reload
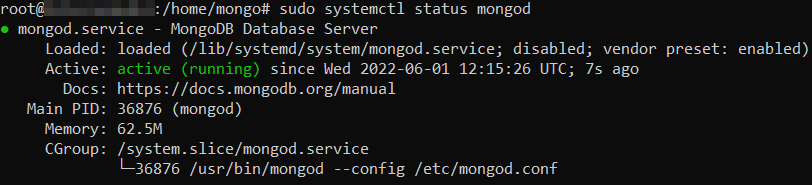
To confirm that the MongoDB instance is running, check its status with this command:
sudo systemctl status mongod
Your output should look something like the example below.
Lastly, run this command to set MongoDB daemon to start automatically whenever the computer or a VPS setup gets restarted:
sudo systemctl enable mongod
With the MongoDB database server loaded, it is now ready to be used!